Showing posts with label Sewing. Show all posts

Monday, 23 April 2012

Bento Gear Organizer

I have somewhat acquired a significant amount of bento gear and accessories and discovered I have nowhere to put them since i have a small kitchen and a limited ammount of space. So most of my things went onto one shelf and in two bags, which does not inspire anyone at all to pack lunch in a more appealing and tasty looking way.

I needed a solution. And I needed it fast. Google image and searched for clear shoe door hanging organizer. There were so many door organizers and they look so fab. But do i buy one? the cheapest i found was US$15 and to ship it here add $17. Thats $32 total and knowing how postal works around here, it'll arrive in 30days. Nuh-uh! I'm not paying that price nor am I waiting that long.

The alternative! I went to soon lee and had a looksie around the plastic table mats they have in rolls. Picked one that I felt would not kill my machine. @ $1.90 per meter, and I got 3m, I spent less than $6. Wicked!!

Brought it home and did not touch it for a few days. I was trying to get my head around to what I need to do. More like a breakdown of process before I start and regret something.
First things first. Measure and cut!

I measured according to the kitchen door and how long i'd like it to be. Then I taped it to the floor and i used the tiles as my guide lines.
Cut and measure the pocket pieces and sewed at one edge. Made six pieces of these.

Measuring and drawing lines everywhere, so the pockets look uniform. and i have a straight line to follow when i sew this thing together.

Sewing ribbon onto the edges of the plastic pockets, so i know where the pockets are. I used whatever ribbon i have in my stash.


Mr Bear took pictures while i was on the sewing machine and on the floor. All of the plastic. Every fold, every edge, every piece was held together by packing tape. It was the easiest way for me at the time, for the damn thing to hold together while I sew everything down.

4 button holes and 4 hooks to hold it up

Taa-Daaaa!!
My bento door organizer! where i can see everything and within reach!
Took me two and a half weeks. I did not sew everyday. I sew a piece at a time. slowly. And its crooked like everywhere. ROFL!


Sunday, 18 March 2012

Pillowcase Dress By Rozi

I went over to my cousin Rozi's house today to start prepping up for the 20 books order for JIS. So while I was cutting boards and paper and gluing, I was also teaching Rozi how to make a pillowcase dress for Baby D.
Luckily, in one of the donated stash I have received were two pillowcases. One was blue and one was more in green moss brown flowery print. Unfortunately I didn't take a photo of that.
Rozi cleared up a table and got the sewing machine that her mother gave her out. A few tests and it's working great after not in use for a decade? I think.

I taught her how to measure up for the arm holes using a sleeveless top Dyanna has.
Mark and Cut
Hemming
Ironing
And how to hem the neck for the ribbon to go through
We ran through a few machine techie glitches, like the thread snapped, the bobbin got tangled, usual stuff. Rozi was feeling rather "what i have to sew it all over again?" hehehe

Very determined to get it done.
Ribbon in, one edge was sewn nicely until I told her that I shortcut queen suggest using glue.
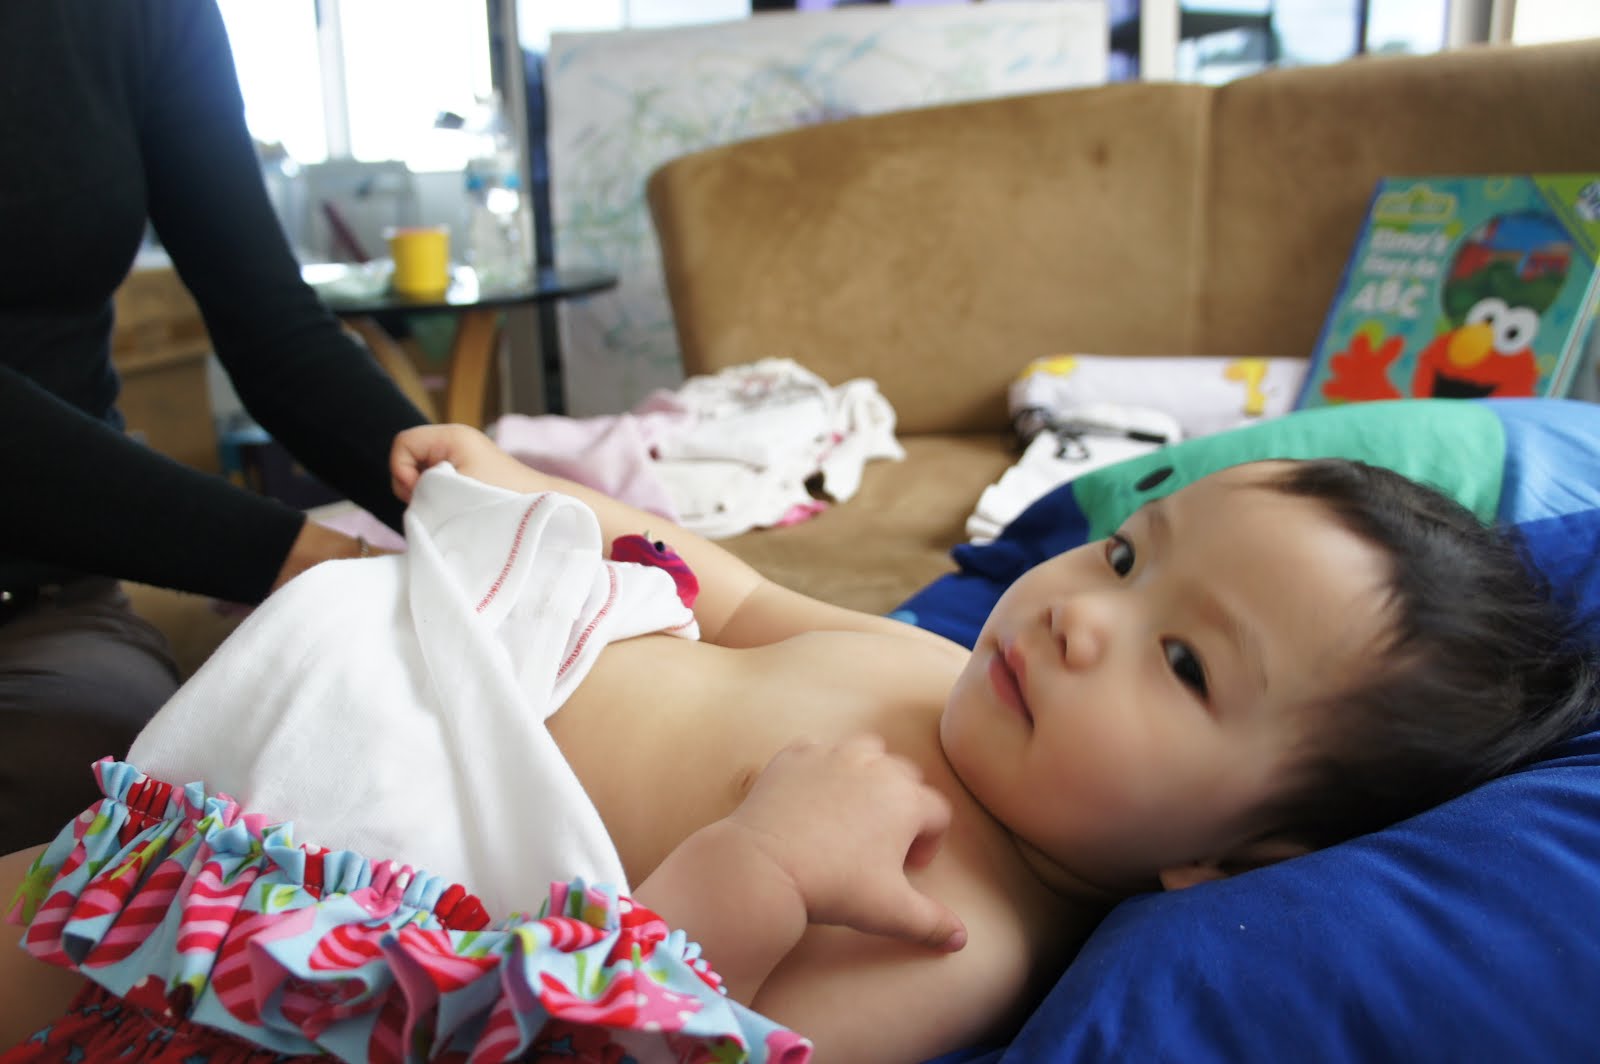
When all was done. we tried to get the toddler to wear it and keep it on and pause long enough for a decent picture. Unfortunately.

Ran and climbed the bench while i was chasing her and trying to get a photo op and making sure she doesn't fall.

Those ruffles were already on the pillowcase and were too cute to remove.

Trying out to see what she can pull off her

Pulled the ribbon already after 2 minutes

I think all in all, it was a very productive afternoon.
We have another pillowcase to transform.


Tuesday, 7 February 2012

Wanted: Fairy Godmother or Elves

What I love most about Brunei is the sun that we get. Especially more so since I've discovered baking in the car. There is also the ever lovely and feel of laundry drying in the sun. I normally do laundry once every week or 2 weeks, depending on how busy we are. This helps save water and detergent due to the big loads. And we have the rollies clothes line, so its fairly easy to just roll them in for the night and roll them out for the day

Another Eco project that I'm slowly starting is my indoor/outdoor edible plants/garden. I'm starting slowly and one pot at a time. This is due to the fact that the first time we tried to have a plant, it decided it didnt like us very much and died.

This is my rosemary. My friends Harold and Mathilde gave it to me as a present. Lovely couple. It seems that rosemary requires little water, lots of sun and is perfect for me.


This was our first plant. Yes I still keep it as a reminder that i killed it and also because i like the pot it came in. Hopefully the sight of it is enough to scare the rosemary to thrive.

And as promised. This is why I have been sewing by hand instead of my sewing machine. This is my crafting table/dining table which we only used twice. We prefer having out meals in front of the telly in the family room. more comfortable. Its a mess I know. It looks easy enough to sort and clean, however I assure you it is not.


This is my little corner, where I am the google princess and where I spend 80% of my time when I'm home.

Hemming by hand

My yo-yo maker :) I love my yo-yo maker. Remember I'm the short cut queen. So this was how I made them yo-yos. It only took me 5 minutes.

What I learned through this post; Short cuts will make your life easier for you to spend that extra time to do other stuff

Saturday, 4 February 2012

The Perfect Supergirl Dress

They're here! They're here! My books have finally arrived. I've waited for a whole month for them. 2 weeks delivery my ass. Nevertheless I'm a happy duck (see pic). I've picked them up bright and early this morning and will drool over them tonight. Will post pictures next post.

Friday is always the day to look forward to as its a day off for me. However instead of doing laundry, vacuuming and such, I went into the jungle for a recce with my hash mate Squeak. Had a great 1hr walk in the jungle of diplo. Usually by lunch, Im off to my cousin's Rozi to spend the afternoon in her studio and spend some quality time with Rozi, Sab (my sister) and Dyanna (my niece-Rozi's baby). And I have come with a gift!


She wouldn't let it go

We did a before photo. Now for a little background story. The "dress" is actually a boys singlet for 6yrs old (Rozi checked tonight and it says 8-9yrs old. my bad). Since Daddy is very into superman, this was the perfect gift for baby. I bought it when she was 2 weeks old (it'll come in handy in the future I said), it came in a pack of 2 for $10. Good bargain. A few weeks ago we were hanging out in the dining room and Sab found it among the piles of everything that we tend to pile with the intention of putting them in their proper place. And Rozi said, hey how about turning it into a dress? Great idea. had the baby try it on to see where it needs to be adjusted. And here is the result. She's almost 2yrs old now.

Posing for the camera.

Cheeky face!

My sister diverting attention to the birds outside the window so I can get a close up of the yo-yo and flowers.

And did I spend a single cent on this?
Absolutely not. I used up everything I had in my sewing stash and scrap box.
Did I use my sewing machine?
Absolutely not. I sewed everything by hand. Everything is hemmed by hand. Ruffles made by running stitch and pinned on one layer at a time and sewed by hand by backstitch using embroidery threads.
Why didn't I use my sewing machine?
Will post photos of why
How long did this take me to sew?
2 weeks, sewn a little bit at a time each night while I watch project runway and masterchef australia.
Would I do this again?
Definitely!

Thursday, 15 July 2010

Baby Crinkle Tag Toy

My little niece is so lucky. And so am I. There I was with lots of scraps leftover and have no idea what to do with them. So off I go blog hopping looking and reading at the wonderful things other ladies are making when I just went ah-hah! a tag toy!! but need ribbons. Darn!

Off to Hokko the next day for a few selections. And lo and behold. I have taken step by step tutorial pictures on how to make a crinkly tag toy for babies/toddlers.

What you will need

Two rectangle pieces of fabric (you can make it any shape you want really)
scissors
pins
plastic bag
needle and thread

Step One:
Cut your plastic bag to your fabric size.


Step 2:
Sandwich you plastic in between your fabric. Make sure your fabric is facing inside. so fabric (facing upwards) plastics and fabric (facing downward)

Ok I have made an oopsie here. Before you do this step. Make sure you do step 3 & 4 first. apologies


Step 3:
Pin all your ribbons. In any way you like.


Step 4:
Do remember to give a bit of allowance for the seam. Satin ribbons tend to fray.


Step 5:
When you sew, remember to leave an opening easy enough for you to flip the tag toy inside out. And be careful of pins. I pricked myself so many times I cried.


Step 6:
Remove all pins. Flatten your toy and sew the opening close.


Enjoy the crinkly crinkle of your tag toy

Tuesday, 29 June 2010

Baby Booties

Hello blogging. I haven't done this in awhile and I hope I don't get bored easily or have my laptop crash on me again. Anyway, Rozi recently gave birth to a beautiful baby girl, and I just went YES!! I have a baby model for my baby stuff projects. How awesome is that. And the plus side is Rozi and I decided to go 'Green'. Eco Stuff. Nappies. Hand-me-down clothes. Borrowed stuff. I mean why do we even bother to buy when babies grow out of them so fast. Homemade things (this is where I come in) are just fabulous. I love reading blogs of women who make stuff. Scrapping, Sewing, Quilting Etc. It makes me feel kinda lame so I went back to my main mojo. Sewing! So my very first baby thingy.


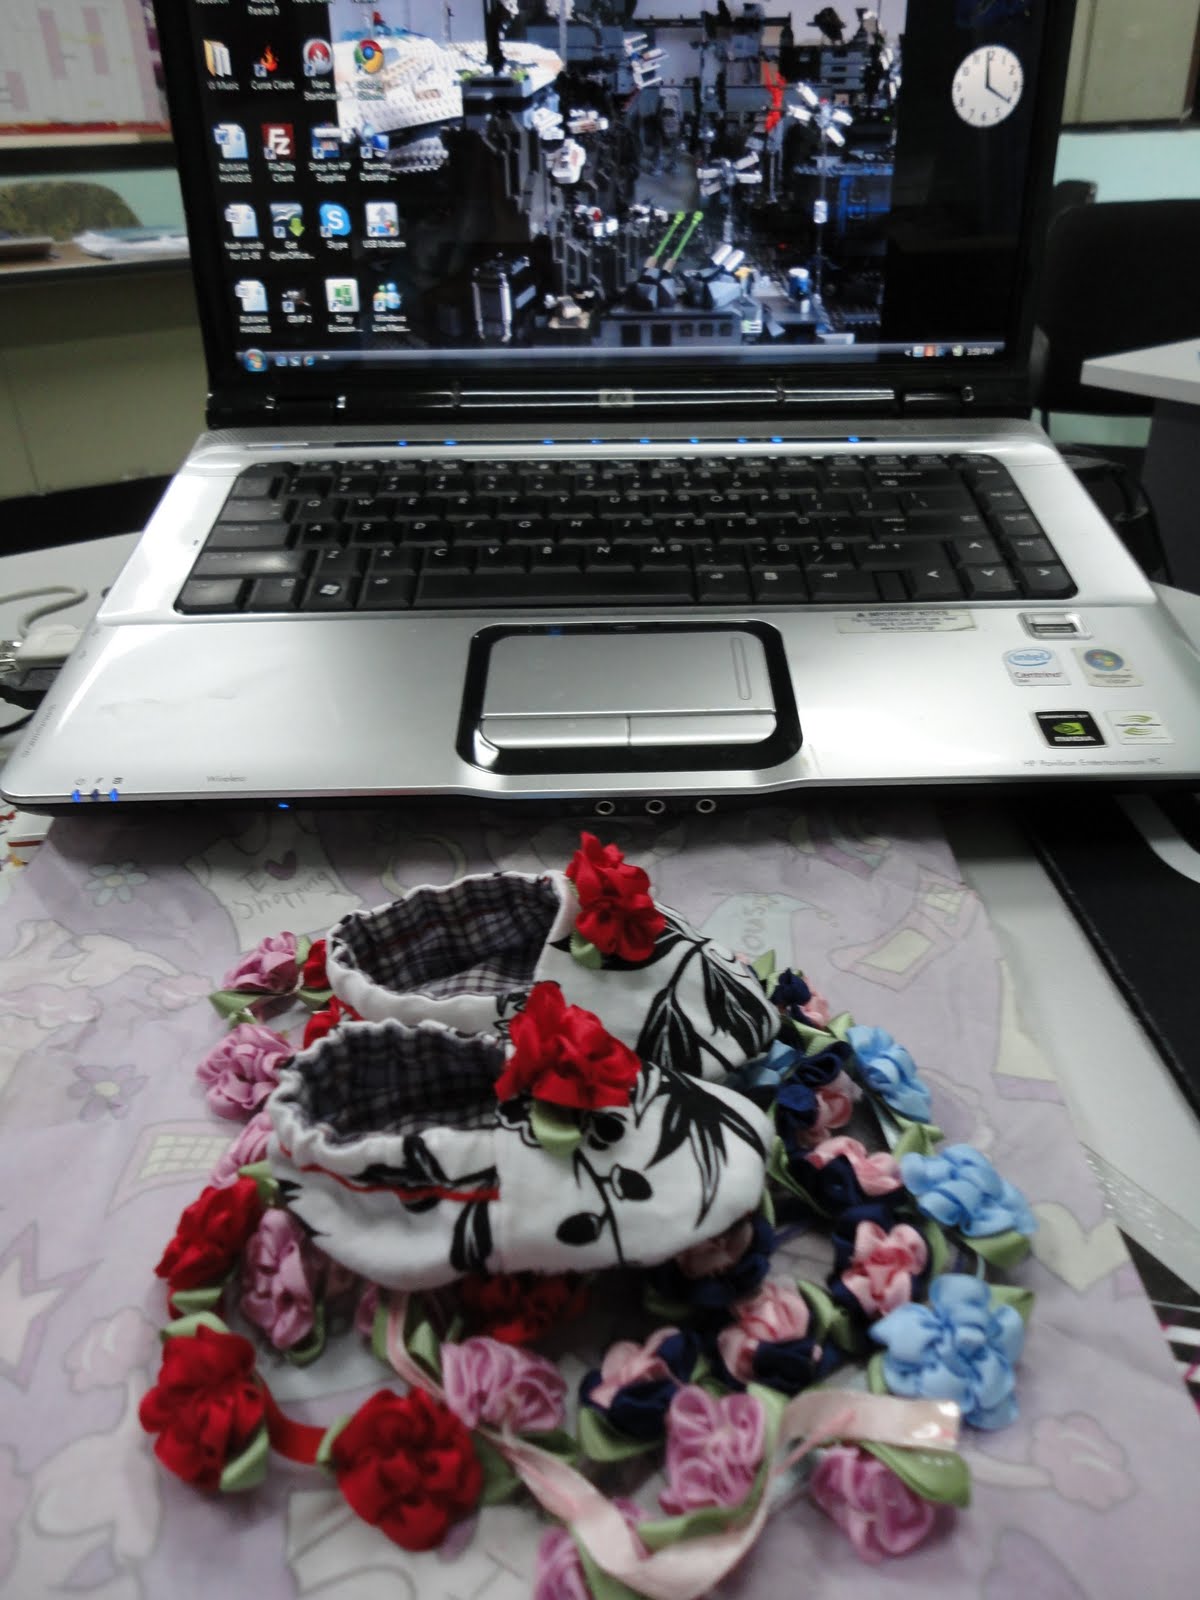
The baby booties are really small. They're the length of my thumb.


They are reversible but I decided not to since I like the black and white pattern better and the red stitching matches quite nicely with the flowers.


I added on fabric flowers that I fell in love with at Hokko and I just had to have them.


Notice that the right booty looks larger that the other? that's coz it is.
Both fabrics are recycled out of scrap fabrics that Hokko was selling out of the scrap bin. And I only needed 4 squares the size of my purse for the pair. Not bad.
Everything was hand stitched by back stitching and I just hemmed the shoe openings on the side. Added on flowers and Voila! perfect baby booties for a newborn. I figured she can wear them for another month. It'll give me another excuse to make more boots. Hahahaha.