Tuesday, 31 January 2012

Baking In The Car

I don't remember where I read about a lady who baked cookies in her car while it was parked under the sun. It however intrigued and pique my curiosity. Should i even try it? Why not. Its easy to whip up a batch of cookie dough anyway. especially when you are the short cut queen. hehehe.


So I whipped this up in a container and left it overnight in the fridge, as i have read if you leave cookie dough overnight, its sticks and taste better too.

My very full little fridge

So cookies are placed nicely the next day at work. This method is perfect for me since all the parking space is under the sun all day.


Mr Bear eventually picked me up for lunch, and he was standing next to the car and told me to put something under the tray so my dashboard wont get ruined by the heat. Something i didnt think about earlier. The temperature inside the car was reduced somewhat while i did this.

Had to move the car a bit in the late afternoon so cookies face the sun. End product, smashing yummy in your tummy chewy choc fudge cookies.

What I learned from this is always use a baking sheet so you won't have a tough time scraping the cookies off the tray.

So if anyone would like to try this out;
always use a baking sheet
make sure its a really hot day (38degrees when i did this)
Never ever open the door
Need to cook 4-5 hrs (took me 6 1/2hrs as i opened the door 3 times)
use less butter (melting factor)

Thursday, 2 September 2010

365 Days. 365 New Outfits. 365 Dollars.

I came across this blog one day when i was googling for dresses. And man was I so in love with this girl. But then why on earth would i want to fill up her comments box which she may or may not have time to read. So I shall worship her from afar. Marissa you are one brilliant babe. She whos blog is New Dress A Day.

This quote comes from eNVe Designs about Marissa. I loved the way she wrote it.

This brilliant idea came to Marisa, a young woman entering her 30's, who found herself wading in what she called "a personal creative-funk-crisis". To get herself out of the rut, she decided to stop shopping for an entire year! I know what you're thinking ladies, "yea, that would make a girl feel better alright...in OPPOSITE WORLD!" But that's just what she has been doing for the past several months--forgoing the traditional clothing shopping. Instead, Marisa is only buying vintage/pre-worn clothing and only allotting herself a budget of $1 per outfit, per day, which she then transforms (with the help of her trusty sewing machine and some sharp shears) into chic, current, fashionable garments, giving each old outfit a new life. That's it.. 365 days, 365 "new" outfits, for 365 dollars. That's definite brilliance if you ask me!

And if that doesnt motivate anyone to revamp their wardrobe then i simply do not know what will.


Thursday, 15 July 2010

Baby Crinkle Tag Toy

My little niece is so lucky. And so am I. There I was with lots of scraps leftover and have no idea what to do with them. So off I go blog hopping looking and reading at the wonderful things other ladies are making when I just went ah-hah! a tag toy!! but need ribbons. Darn!

Off to Hokko the next day for a few selections. And lo and behold. I have taken step by step tutorial pictures on how to make a crinkly tag toy for babies/toddlers.

What you will need

Two rectangle pieces of fabric (you can make it any shape you want really)
scissors
pins
plastic bag
needle and thread

Step One:
Cut your plastic bag to your fabric size.


Step 2:
Sandwich you plastic in between your fabric. Make sure your fabric is facing inside. so fabric (facing upwards) plastics and fabric (facing downward)

Ok I have made an oopsie here. Before you do this step. Make sure you do step 3 & 4 first. apologies


Step 3:
Pin all your ribbons. In any way you like.


Step 4:
Do remember to give a bit of allowance for the seam. Satin ribbons tend to fray.


Step 5:
When you sew, remember to leave an opening easy enough for you to flip the tag toy inside out. And be careful of pins. I pricked myself so many times I cried.


Step 6:
Remove all pins. Flatten your toy and sew the opening close.


Enjoy the crinkly crinkle of your tag toy

Sunday, 4 July 2010

Busy Wednesday Part 3

My last stop was Rozi's house. Another visit to see baby and bearing some more gifts. The pair of booties, baby books and a jolly phonics book and cd. A great start from 0-2 years.

Trying out the panorama option on my camera

Pressiessssss

Ooooo I think it's coming outtt

Oooo that feels ickyyy

Must concentrate on poopinggg

Squeezeeee

Pretty shoes

Prefect Fit

Very cozy to sleep in by the looks of it

Thursday, 1 July 2010

Busy Wednesday Part 2

My little slice of heaven or my very own Santa's Workshop. Where I make little bit of stitching here and there. And of course this little spot is in a bigger room which we call the junk room. Coz it still has our junk when we first moved in and its where we iron clothes as well as dump laundry and its also our closet. Embarrasing really. Anyhoo, I picked up this book when MrBear and I went for our after dinner walk in Regent Square with our friend Shirley and her son JJ. I found it while perusing magazines in the $1 bin. Well it wasn't in the bargain bin, more like on the bookcase next to it.


Very informative book. But still need hands on practicals to fully understand.


My sewing machine, my serger, my little sewing box and my book. I took the painting from the dining room wall because its pretty and I needed a background. Looks better than a plain wall.

Wednesday, 30 June 2010

Busy Wednesday Part 1

I seem to be a very busy bee at the moment. But then it's Wednesday and so many things happened today. So I'm just going to share each event at a time.

Once I finished my sewing class (I've gone back to school .. back to basics) I decided to head over to Moore's and borrow his daughter. Coz I had this haunch that she'll fit perfectly into my skirt. And I was right! So we took a few shots. She's shy and very tomboy-ish, so when she saw the skirt she just said 'you want me to wear that???!!!!!!????' and such a super gal she obliged. And she's going to be my guinea pig for adult sizes for I need the practice.


And as usual the best place to get cottons would be at Hokko. And I have a substantial amount of fabric left, I think I'll ponder on what to make next ... actually I've made it but that's coming up later on.

Tuesday, 29 June 2010

Baby Booties

Hello blogging. I haven't done this in awhile and I hope I don't get bored easily or have my laptop crash on me again. Anyway, Rozi recently gave birth to a beautiful baby girl, and I just went YES!! I have a baby model for my baby stuff projects. How awesome is that. And the plus side is Rozi and I decided to go 'Green'. Eco Stuff. Nappies. Hand-me-down clothes. Borrowed stuff. I mean why do we even bother to buy when babies grow out of them so fast. Homemade things (this is where I come in) are just fabulous. I love reading blogs of women who make stuff. Scrapping, Sewing, Quilting Etc. It makes me feel kinda lame so I went back to my main mojo. Sewing! So my very first baby thingy.


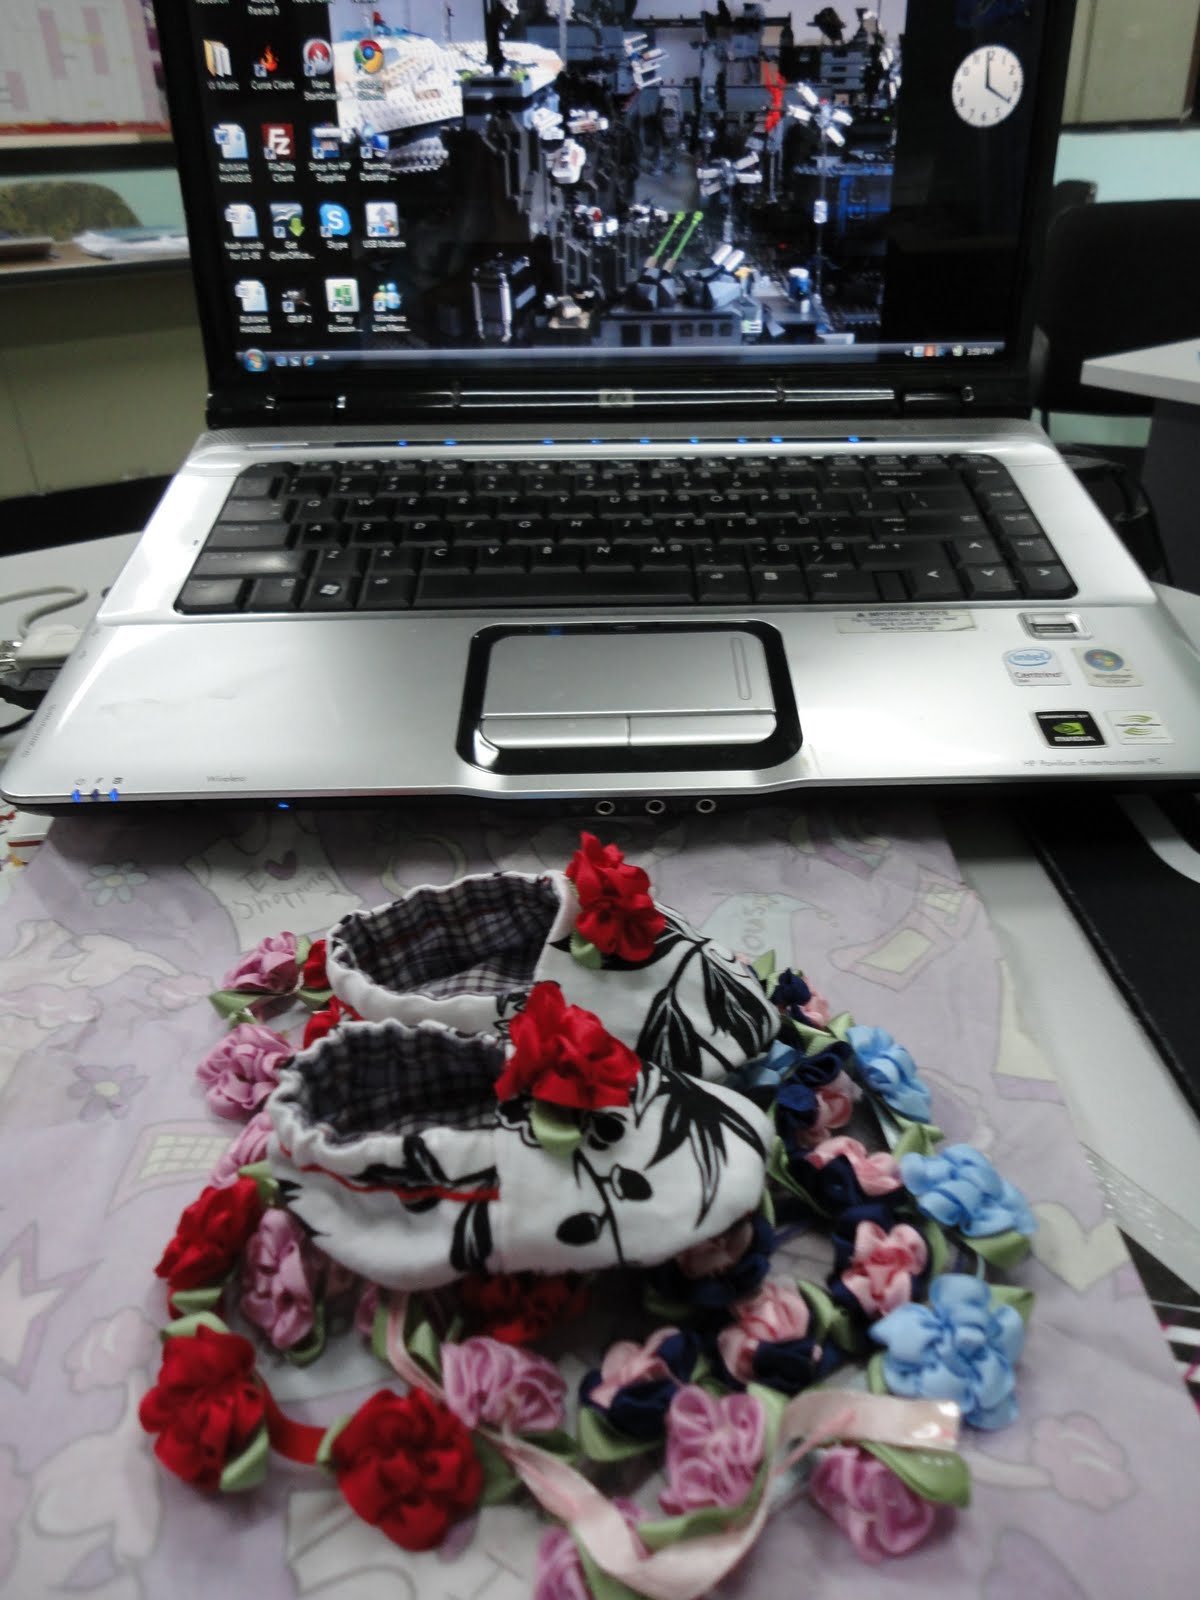
The baby booties are really small. They're the length of my thumb.


They are reversible but I decided not to since I like the black and white pattern better and the red stitching matches quite nicely with the flowers.


I added on fabric flowers that I fell in love with at Hokko and I just had to have them.


Notice that the right booty looks larger that the other? that's coz it is.
Both fabrics are recycled out of scrap fabrics that Hokko was selling out of the scrap bin. And I only needed 4 squares the size of my purse for the pair. Not bad.
Everything was hand stitched by back stitching and I just hemmed the shoe openings on the side. Added on flowers and Voila! perfect baby booties for a newborn. I figured she can wear them for another month. It'll give me another excuse to make more boots. Hahahaha.